Sunday, 10 May 2015

Thank you.

Hiya! Happy Sunday everyone. I thought I'd share another bokeh card with you all today. I used bright colours for this background to give it a cheerful look, because the white circle's were quite pale i decided to add some smaller coloured circles to give it added interest. To finish i stamped my sentiment in black, added a few seqiuns, matted the background onto black cardstock and mounted it on to a A5 card. If you have never tried this technique out before please refer to my previous post...you will love the effect it makes on your cards. I did:-)

Thank you for viewing this post and Happy Crafting
Love Sharon x:-)

Friday, 8 May 2015

Bokeh Technique.

Hiya! I'm back with my latest creation. It's a card with a cool background technique called bokeh. A photography technique that creates out of focus points of light, it makes the most beautiful effect and very easy to achieve. This is my first attempt at this popular technique myself and I was quite pleased with the result. I hope you enjoy it too.
This is how I made the background...
I firstly started with a piece of white card measuring 5.5 in x 8in. I then chose 3 distress inks (peeled paint, broken China and vintage photo) with a piece of cut and dry. Start with one colour aply this to the card and fill in with the remaining colours, perfectly blending them together. Cut 3 size circle's on a piece of thin acetate (I used the smallest circles on my nesting dies) and with a piece of cut and dry. I randomly sponged the circles on to the card with a white pigment ink pad (docrafts artiste) aply varying depths of ink to the circles, so it gives the impression that some are further away than others and overlap them too. when you are happy with the desired effect. Leave to dry and mount on to a A5 card then decorate.
It really makes a lovely background for a card and doesn't need a lot of decoration the background makes it...
Thank you for reading this post and happy crafting.
Love Sharon xx:-)


Friday, 17 April 2015

The four feathers

Hello everybody, hope you are well and looking forward to the weekend. I thought I would share another faux batik card with you all today. I got carried away and made quite a few backgrounds and this is another example of the background I made, but with a different image. Please refer back to my previous post on how I made the faux batik background...

I decided to try a more solid image for this background. I cut four feathers to coordinate with the colours in the background, added a button, bakers twine and sentiment...
Thank you for stopping by to read this post and Happy Crafting.
Love Sharon x:-)


Wednesday, 15 April 2015

faux batik technique.

Hi there. I wanted to share this fab technique with you all. I was inspired to make this card by watching the craft clinic on create and craft. Julia Watts was the guest demontrator and one of the questions the viewers e-mailed in, was how to do the faux batik technique. I had never seen this done before, if you are unfamiliar with this technique like me, it is a very ancient art of decorating cloth using wax and dye and through its popularity it as become well know in different forms of art and craft. This is my take on Julia's card but slightly changed due to different materials...
This is how I made the background...
I chose a coated light weight paper but you can use card if you like. First of all I stamped my image all over my background using versamark. It helps if you use a more solid image but I prepared this one and it worked alright, then use clear (i used white as well) embossing powder all over the entire background and heat until melted. The next step is to fold the paper in different directions (I scrunched mine up to get a different effect, but just be careful you don't tear your paper like I did) once you have done then spritz your paper with water to moisten it, this will allow the ink to get in the folds you have made, using a drayer and a big & juicy pad  (which l still have although the colours are a little muddy now) or adirondack ink pads, ink your drayer up and roll in different directions. Allow to dry before attaching to your project. I hope you give it a go like I did, its a lovely technique to do and looks amazing on your cards.
These are my finished cards with my background but different layouts.


Thanks for stopping by to read this post and happy crafting.
Love Sharon xx:-)

Thursday, 9 April 2015

Sailing again.

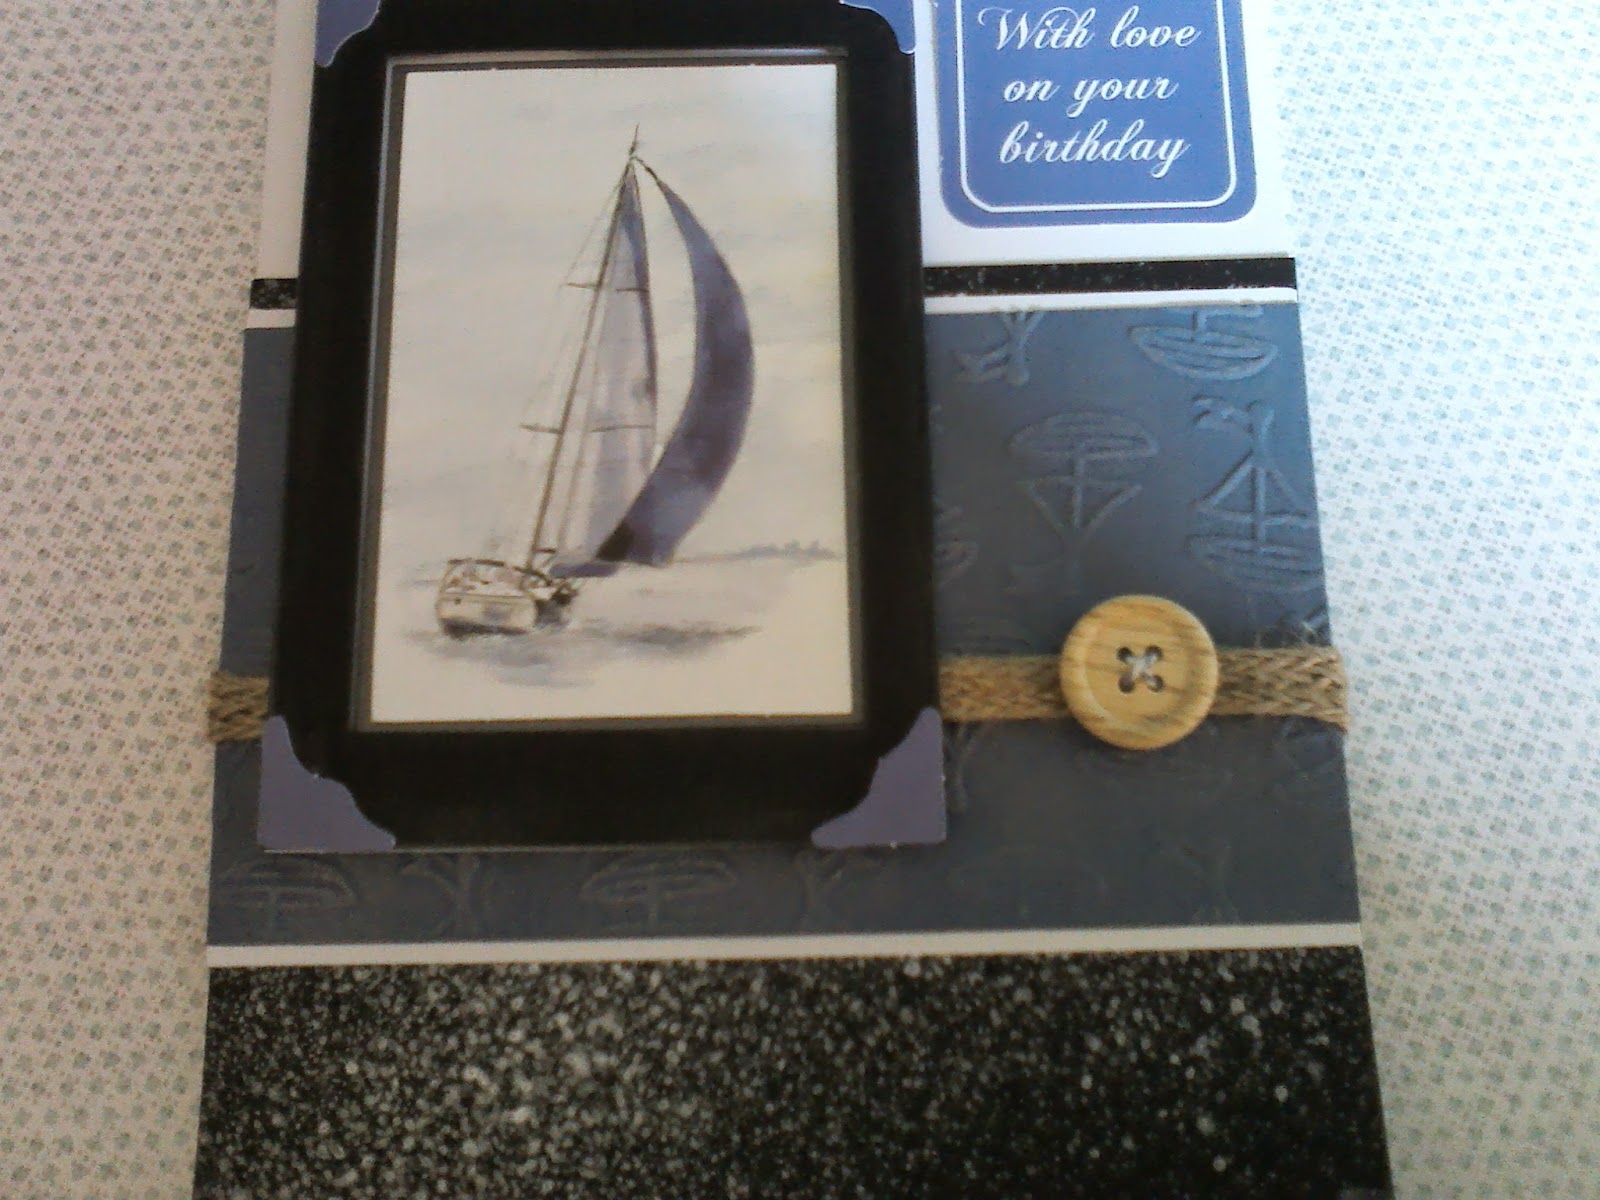
Hi there, thought I'd share this card with you as promised on my last post. I have used a topper, sentiment and photo corners from the sheet, plus the previous sailing card I made and I still have enough topper's to make at least two more cards with. That's amazing value for money!
I shall defiantly be stocking up on more of these.
The card is described below...

 I spritzed a piece of black card with silver mister, the blue card  is embossed with a docrafts embossing folder and rubbed over  with silver gilding wax. The Hessian  braid  is wrapped around  it, topped with a  wooden button and bakers twine threaded  through the button  holes.

 The image was placed in a frame made with nesting  rectangles,  gilded around the edges and the photo corners put on top, the  sentiment was finished with a wooden button and bakers  twine  threaded through the button holes.
Thank you for taking the time to read this post and see you soon.
 Love Sharon x:-)

Monday, 6 April 2015

Sailing.

Hi there. A sunny Easter afternoon to you all. I hope you are soaking up this nice whether we are having today, I was thinking about the coming months ahead and thought l would share this Sailing card with you. It reminds me of sunny days and chilling out on holiday...
A nice and easy project to make for a last minute birthday card.
Just a bit of matting and layering, the toppers are die cut and easy to pop out and the rest is explained below...


            Apply double sided tape to three circles of cardstock and
            coil twine on to them to make the buttons...


I added glitter on the sea and glossy eccents to the hull of the yatchts...
           
I have made another card with the same topper sheets. I shall share it with you on my next post.
Thank you for stopping by and see you soon...
Love Sharon x

Friday, 3 April 2015

Pastel Easter Card.

Hi there, Happy good Friday to one and all. I thought I'd share this card with you all today. I can't stop making Easter cards, I've promised myself that this will be the last one, now Easter is here. I made it with some bits and bobs leftover from my previous projects.
The Happy Easter stamp as been a good buy. I have used it on all my Easter cards featured on my blog, I just adapted it by masking off different parts of it to suit the project.
The egg die became a favourite of mine too, it was featured on my Easter basket card.
The chipboard letters are a go to essential and are a necessity in every crafter's stash. I hope I have given you ideas for your own cards.

Well I think that's all for today, see you soon.

Love Sharon xxx.